
Laravel is a popular open-source PHP web application framework known for its elegant syntax and robust features. It simplifies web development by providing tools and libraries for tasks such as routing, database management, and authentication, making it easier to build scalable and maintainable web applications. Laravel follows the Model-View-Controller (MVC) architectural pattern and has a large and active developer community, which contributes to its ongoing development and the creation of various packages and extensions.
Prerequisites
-
Before we start we need a VPS server ready (You have to purchase it)
(You can purchase it from AWS or Digital Ocean) -
Basic knowledge of Linux commands and tools
So let's begin the journey...
Setup the server
First, we have to log in to the server via SSH, like this. ssh root@ip_address
ssh root@127.0.0.1
# If you have any identity file you can pass it by -i
ssh -i ssh-key.pem root@127.0.0.1
After login, you will see the server ip & username.
I regularly used oh-my-zsh for the terminal, you can install it from here.
Okay, Now we update the system first.
sudo apt update
Then install PHP and the necessary php extension required by Laravel
sudo apt install git php php-mbstring php-xml php-bcmath php-curl php-mysql php-cli zip unzip
To install the Laravel app we need to install the composer package also.
curl -sS https://getcomposer.org/installer -o /tmp/composer-setup.php

sudo php /tmp/composer-setup.php --install-dir=/usr/local/bin --filename=composer
Test the composer installation.
# Now run composer command
composer

## The Output will be like this
   ______
  / ____/___  ____ ___  ____  ____  ________  _____
 / /   / __ \/ __ `__ \/ __ \/ __ \/ ___/ _ \/ ___/
/ /___/ /_/ / / / / / / /_/ / /_/ (__  )  __/ /
\____/\____/_/ /_/ /_/ .___/\____/____/\___/_/
                    /_/
Composer version Composer version 2.2.9 2022-03-15 22:13:37
Usage:
  command [options] [arguments]

Options:
  -h, --help                     Display this help message
  -q, --quiet                    Do not output any message
  -V, --version                  Display this application version
      --ansi                     Force ANSI output
      --no-ansi                  Disable ANSI output
  -n, --no-interaction           Do not ask any interactive question
      --profile                  Display timing and memory usage information
      --no-plugins               Whether to disable plugins.
  -d, --working-dir=WORKING-DIR  If specified, use the given directory as working directory.
      --no-cache                 Prevent use of the cache
  -v|vv|vvv, --verbose           Increase the verbosity of messages: 1 for normal output, 2 for more verbose output and 3 for debug
...
Now for the database, we will use MySQL so we need to install the MySQL server also, or you can use a different DB as your requirement.
sudo apt install mysql-server
Now create MySQL user and allow privileges to the newly created user.
# After the installation is done,
# now create user for mysql
sudo mysql

# In mysql command
CREATE USER 'msar'@'localhost' IDENTIFIED BY 'M05tSecur3Pas5';

# Now grant all privileges to this user
GRANT ALL PRIVILEGES ON *.* TO 'msar'@'localhost' WITH GRANT OPTION;

# Now flash the privileges to reload
FLUSH PRIVILEGES;

# and finally exit from the mysql-cli window.
exit;
Okay, our MySQL setup is done, now create a database for our Laravel application.
mysql -u msar -p

# It will ask you the password, give the password you set while
# this user creation time.

# Now run below command to create the DB.
create database laravel_app;

# and exit
exit;
For the web server, we will use caddy For caddy installation use these commands below.
sudo apt install -y debian-keyring debian-archive-keyring apt-transport-https
curl -1sLf 'https://dl.cloudsmith.io/public/caddy/stable/gpg.key' | sudo gpg --dearmor -o /usr/share/keyrings/caddy-stable-archive-keyring.gpg
curl -1sLf 'https://dl.cloudsmith.io/public/caddy/stable/debian.deb.txt' | sudo tee /etc/apt/sources.list.d/caddy-stable.list
sudo apt update
sudo apt install caddy
Now create a new caddy web block in the caddyfile.
sudo nano /etc/caddy/Caddyfile
Sample Laravel app config
taskme.com, www.taskme.com {
        root * /var/www/taskme.com/public
        encode zstd gzip
        file_server
        php_fastcgi unix//var/run/php/php8.1-fpm.sock
}
And restart the caddy server
sudo systemctl restart caddy
sudo systemctl enable caddy
After successfully installing the caddy, our initial server setup will be done.
NB: If you want to use nginx configure it as you wish or follow this tutorial
Now dig into the next step.
Create Laravel App
You can create the Laravel app on your local machine and create a git repo, after that, we will set up the GitHub actions to deploy the app in the server we set up.
In your local terminal run this.
composer create-project --prefer-dist laravel/laravel taskme

## Output will be
Creating a "laravel/laravel" project at "./taskme"
Installing laravel/laravel (v10.2.6)
  - Installing laravel/laravel (v10.2.6): Extracting archive
Created project in /Users/msar/Sites/taskme
> @php -r "file_exists('.env') || copy('.env.example', '.env');"
Loading composer repositories with package information
Updating dependencies
Lock file operations: 110 installs, 0 updates, 0 removals
  - Locking brick/math (0.11.0)
  - Locking dflydev/dot-access-data (v3.0.2)
  - Locking doctrine/inflector (2.0.8)
  - Locking doctrine/lexer (3.0.0)
  - Locking dragonmantank/cron-expression (v3.3.3)
  - Locking egulias/email-validator (4.0.2)
  - Locking fakerphp/faker (v1.23.0)
  - Locking filp/whoops (2.15.3)
  - Locking fruitcake/php-cors (v1.3.0)
  - Locking graham-campbell/result-type (v1.1.1)
  - Locking guzzlehttp/guzzle (7.8.0)
  - Locking guzzlehttp/promises (2.0.1)
  - Locking guzzlehttp/psr7 (2.6.1)
  - Locking guzzlehttp/uri-template (v1.0.2)
  - Locking hamcrest/hamcrest-php (v2.0.1)
  - Locking laravel/framework (v10.29.0)
....
Now serve the app and test.
cd taskme
php artisan serve
The output will be in the browser as below. (localhost:8000)

After creating the Laravel application create a git repo and push this code into the repo.
cd taskme

# Add git and push
git init
git add .
git commit -m "Initial commit"
git remote add origin https://github.com/4msar/taskme.git
git push -u origin main
Setup the git & workflows
So as our application creation is done, now create two files in the project folder.
deploy.sh .github/workflows/deploy.yml now put these codes in two files.
in deploy.sh file
#!/bin/bash
set -e

echo "Deployment started ..."

# Enter maintenance mode or return true
# if already is in maintenance mode
(php artisan down) || true

# Pull the latest version of the app
git pull origin main

# Install composer dependencies
composer install --no-dev --no-interaction --prefer-dist --optimize-autoloader

# Clear the old cache
php artisan clear-compiled

# Recreate cache
php artisan optimize

# install dependancies
(yarn -v) && yarn install

# # Compile npm assets
(yarn -v) && yarn build

# Run database migrations
php artisan migrate --force

# Exit maintenance mode
php artisan up

echo "Deployment finished!"
and in .github/workflows/deploy.yml
name: Deploy

# Trigger the workflow on push and
# pull request events on the production branch
on:
  push:
    branches:
      - main

# Authenticate to the the server via ssh
# and run our deployment script
jobs:
  deploy:
    runs-on: ubuntu-latest
    steps:
      - uses: actions/checkout@v3
      - name: Deploy to server
        uses: appleboy/ssh-action@master
        with:
          host: ${{ secrets.HOST }}
          username: ${{ secrets.USERNAME }}
          port: ${{ secrets.PORT }}
          password: ${{ secrets.PASSWORD }}
          script: |
            cd /var/www/taksme
            source ~/.nvm/nvm.sh
            sh ./deploy.sh
In your GitHub repo go to repository settings then go to the Actions from Secrets and Variables and add this env variable there.
HOST="ip-address-of-server"
USERNAME="deploy-user"
PORT="21" # by default 21, use your port of diff.
PASSWORD="user-password"
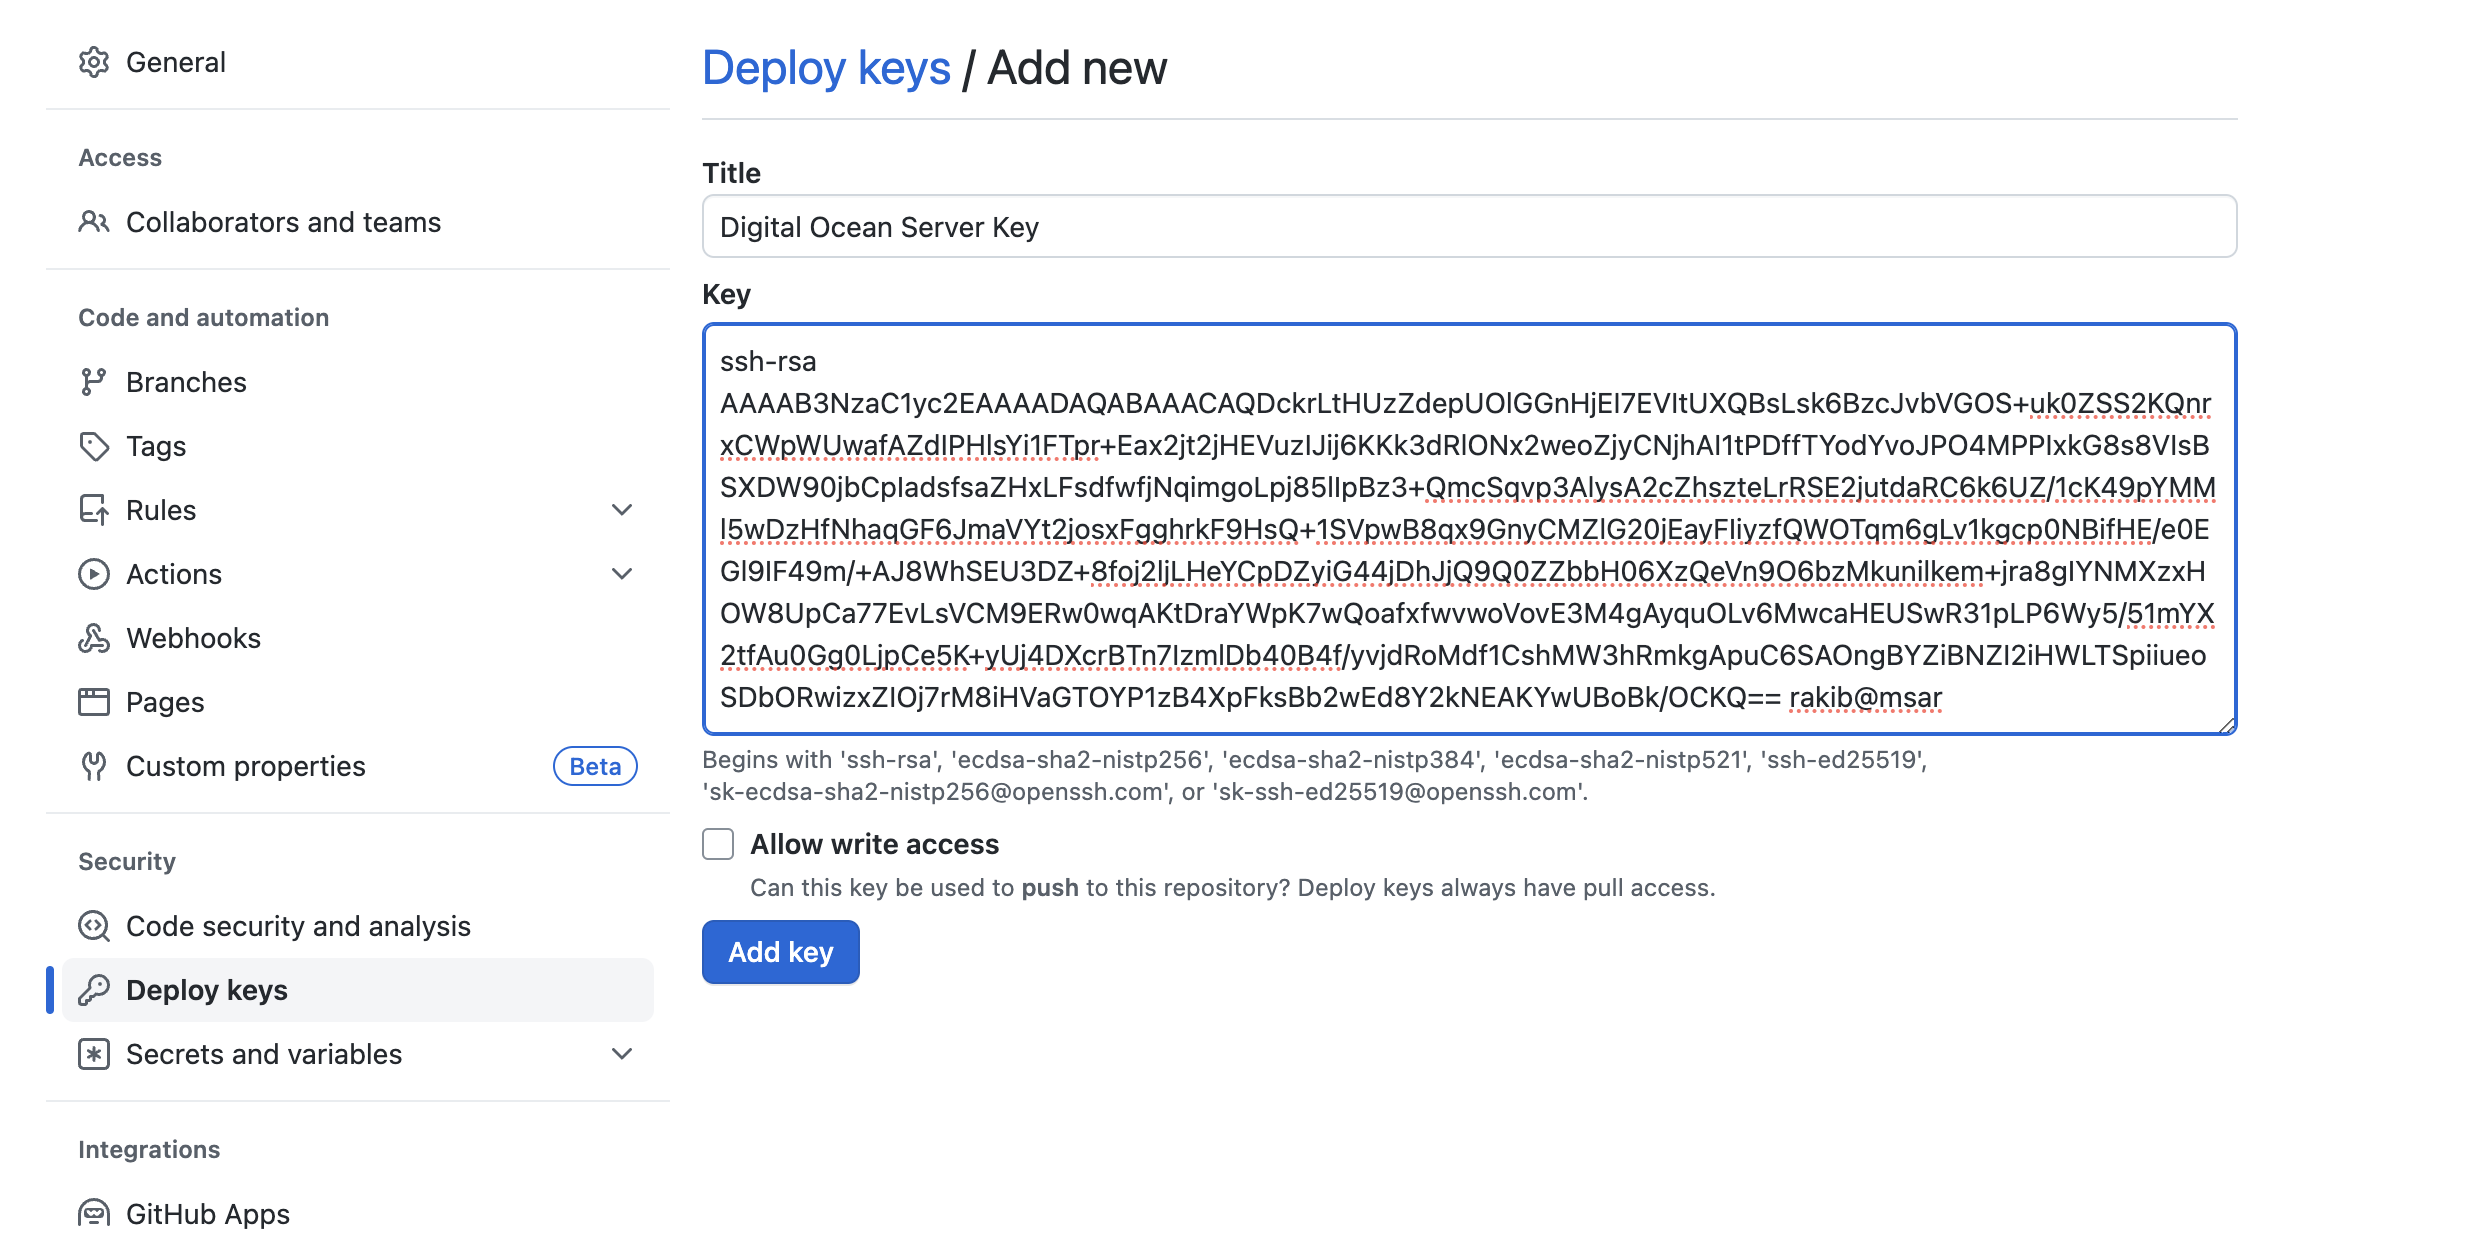
Okay now go to the server again generate a new SSH key and add it as a deploy key in the repo you created.
# To generate RSA key run the command below
ssh-keygen -t rsa -b 4096 -C "your_email@example.com"

# To generate ed25519 key run the command below
ssh-keygen -t ed25519 -C "your_email@example.com"

# Now print the ssh public key
cat ~/.ssh/id_rsa.pub # your generated key name
Now copy the key and paste it as below.

Our repository setup is done, now add these files in git and push.
git add .
git commit -m "Added github workflow files and deployer"
git push
Now login again to your server via SSH and clone the repository in this path.
/var/www/
cd /var/www
git clone https://github.com/4msar/taskme.git taskme.com

# Now install dependencies
cd taskme.com
cp .env.example .env

composer install
Now update the .env files
APP_NAME=TaskMe
APP_ENV=production
APP_KEY=APPLICATION_UNIQUE_KEY_DONT_COPY
APP_DEBUG=false
APP_URL=http://domain_or_IP

LOG_CHANNEL=stack

DB_CONNECTION=mysql
DB_HOST=127.0.0.1
DB_PORT=3306
DB_DATABASE=laravel_app
DB_USERNAME=msar
DB_PASSWORD=password # the mysql user pass

. . .
Run CI/CD
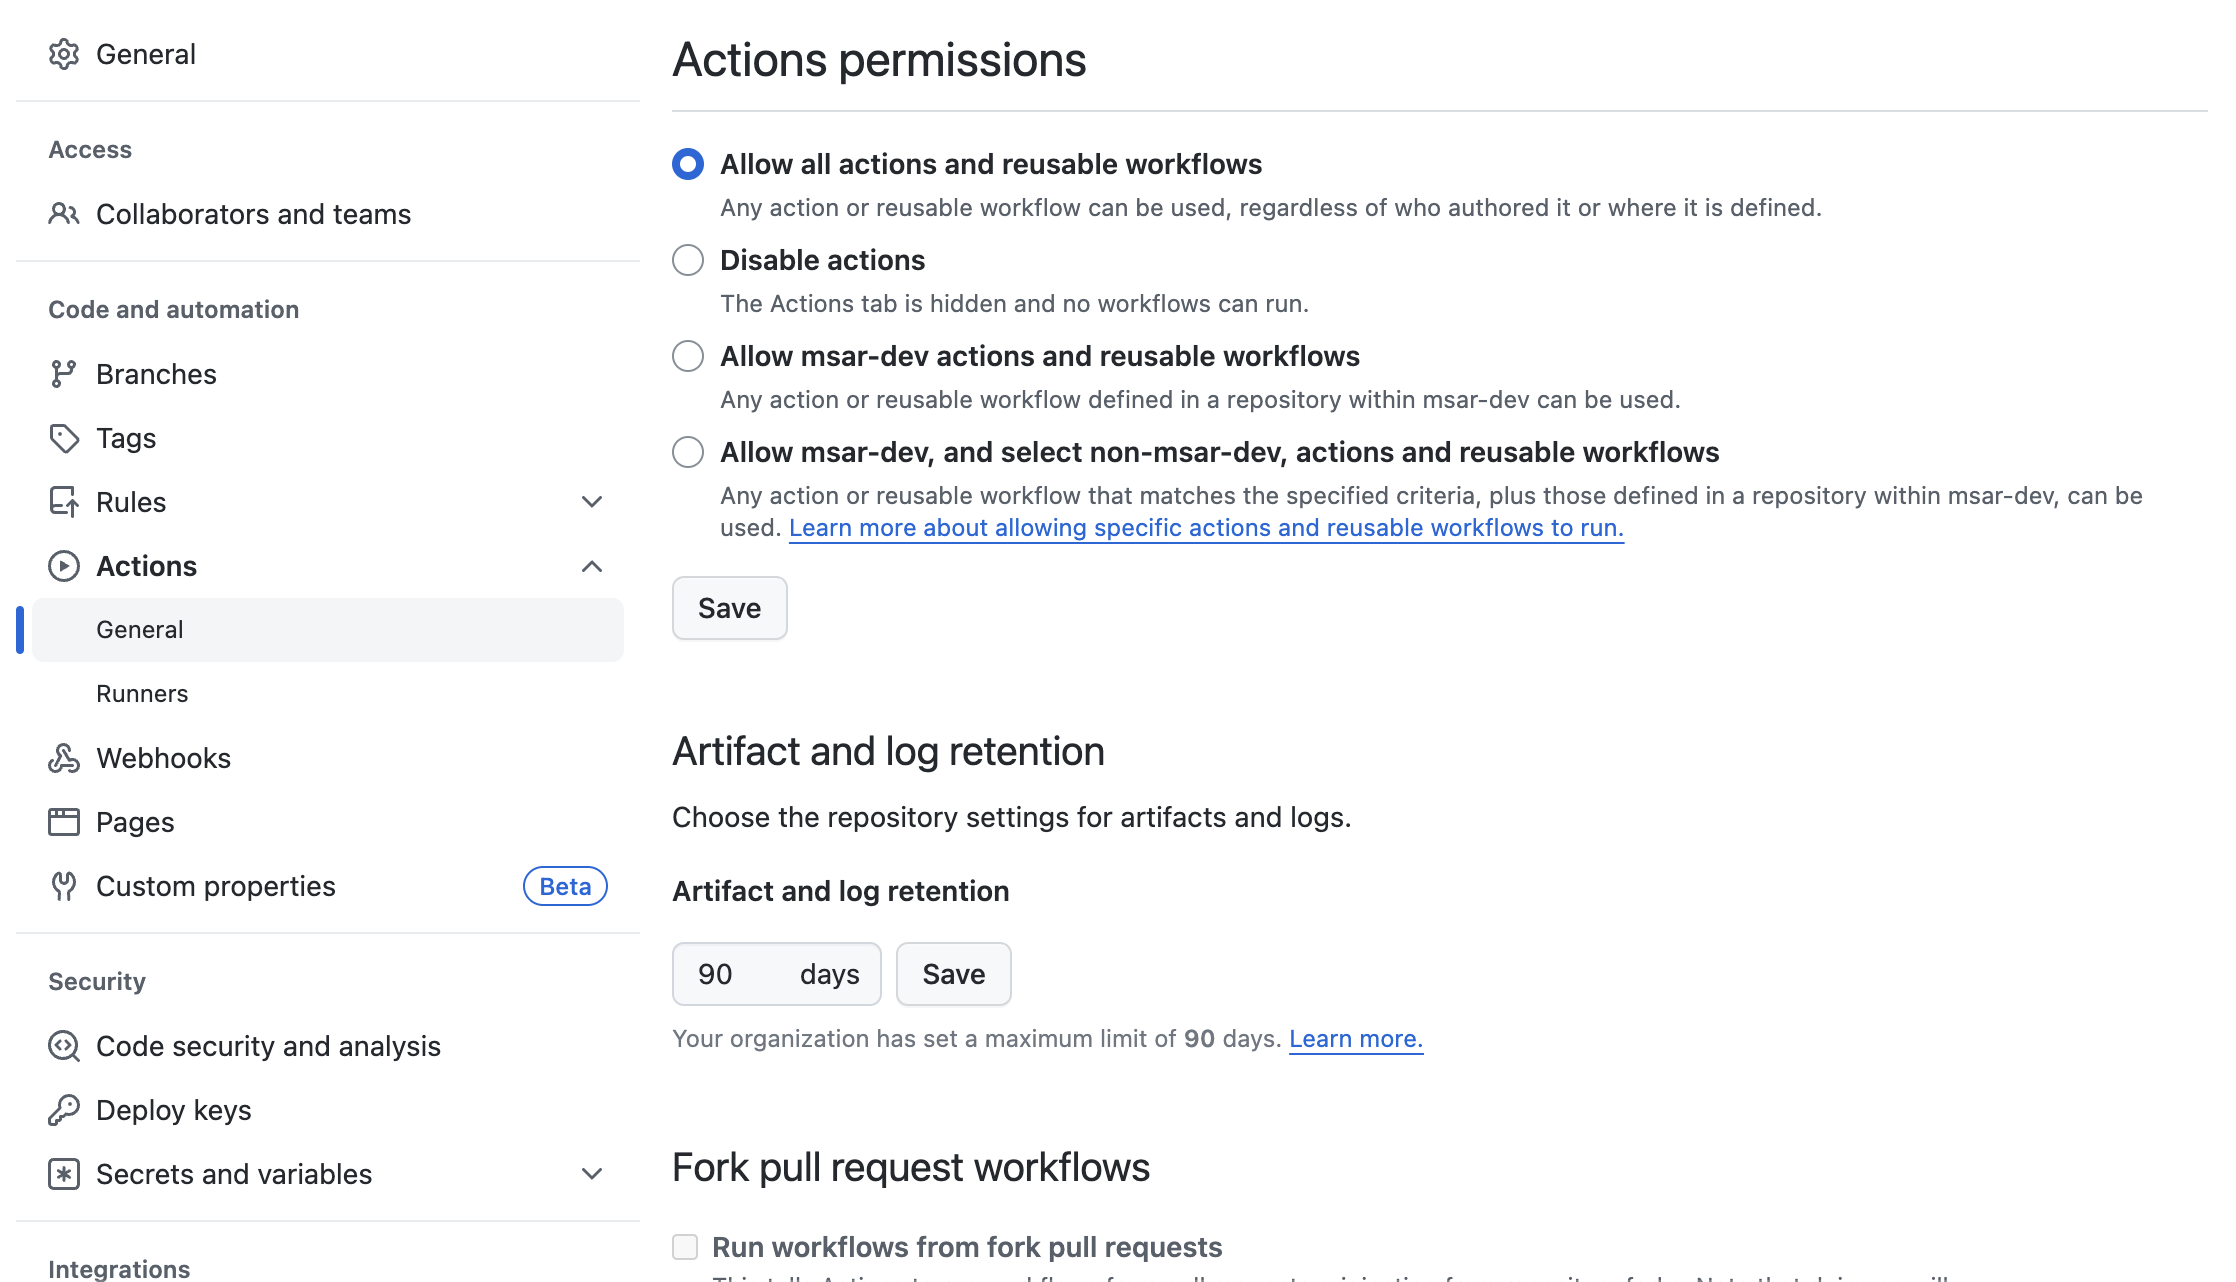
Okay, our all setup is done, now enable CI/CD actions in the GitHub repo.
Go to Settings and Actions>General
Then check "Allow all actions and reusable workflows"

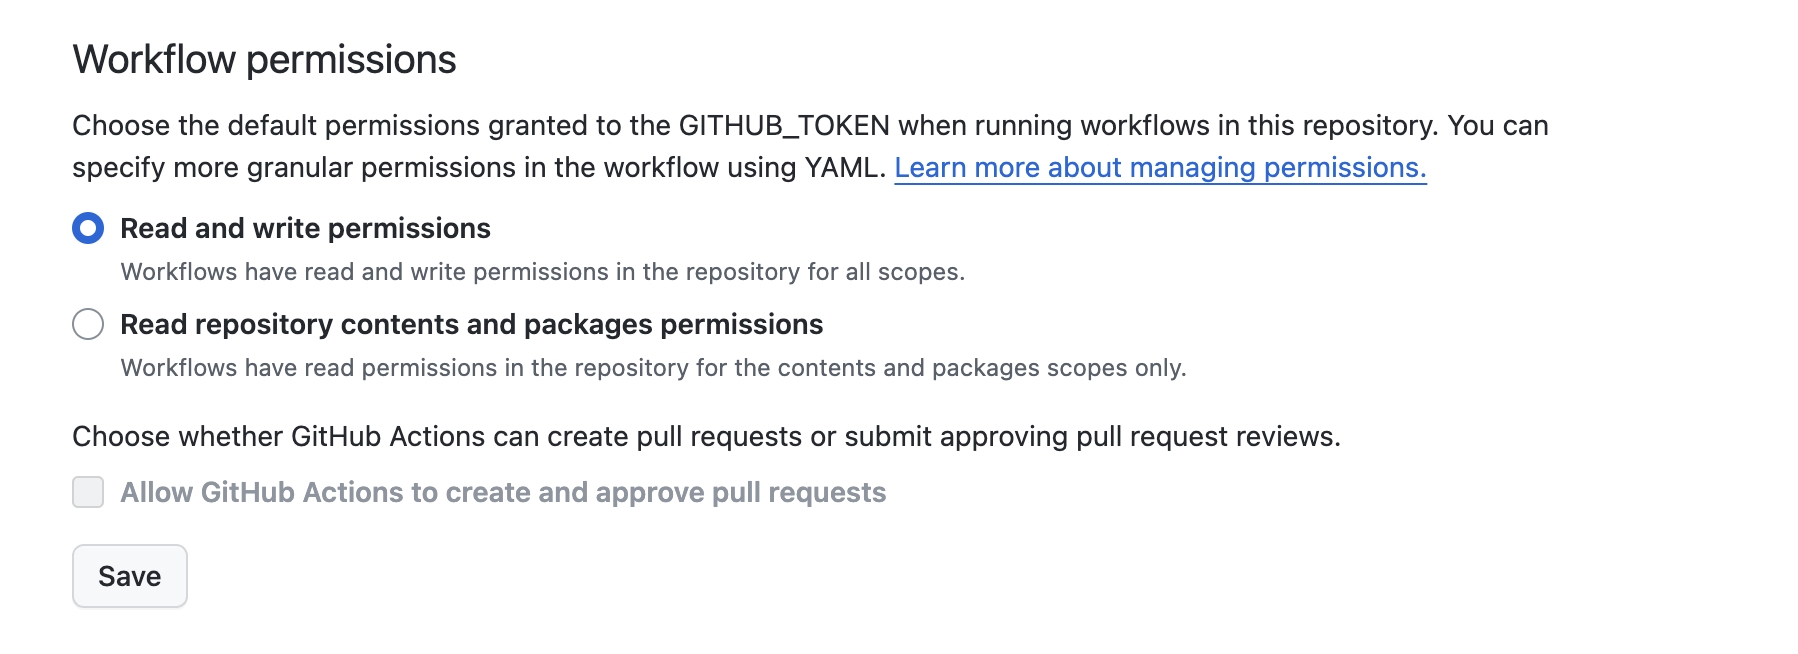
Also, update the workflow permission on the same page

Now open the /routes/web.php and add this route.
<?php

...

Route::get('/check', function(){
    return "Hooray, it's deployed using github actions";
});

...
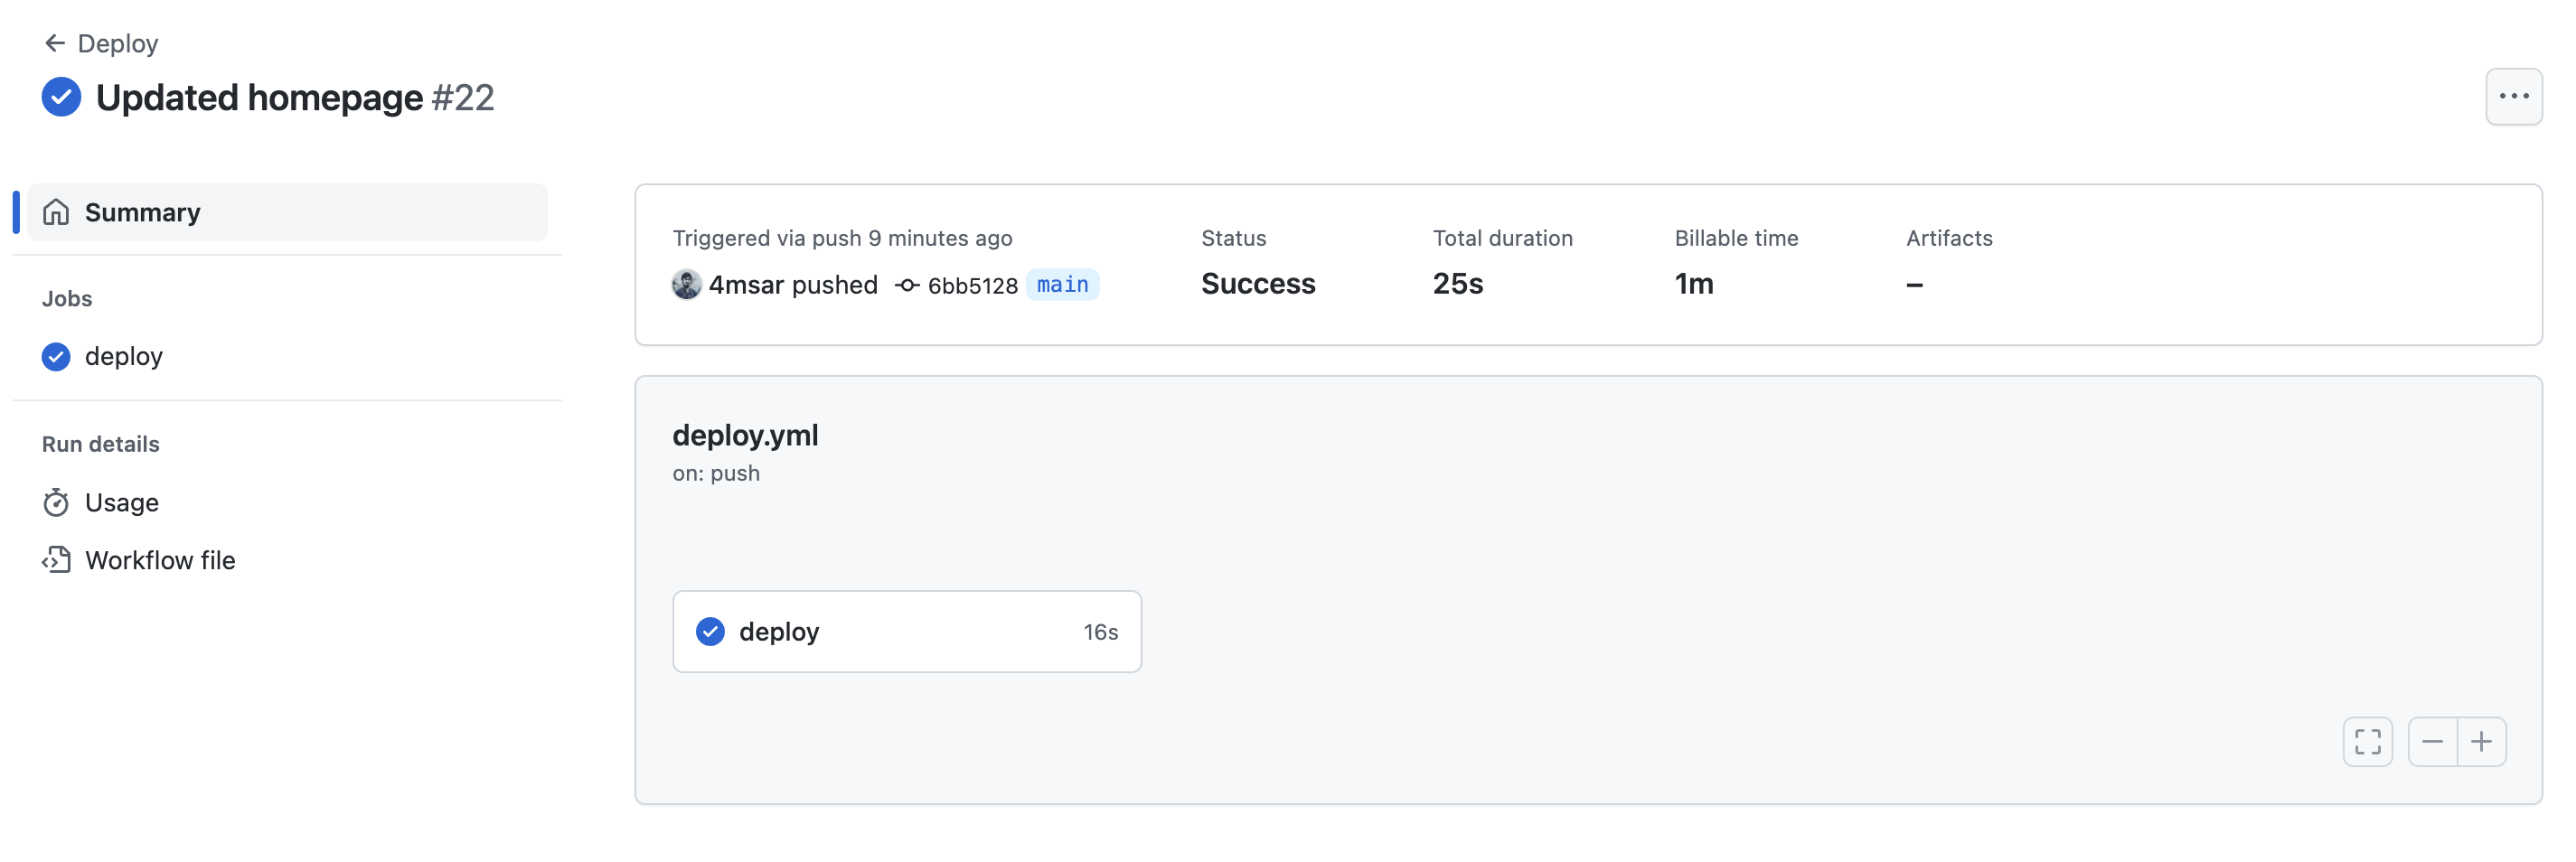
Now commit again and push, after the push go to the GitHub repo Actions Page and you will see a workflow running, click the commit message name and you will see a details page like this.

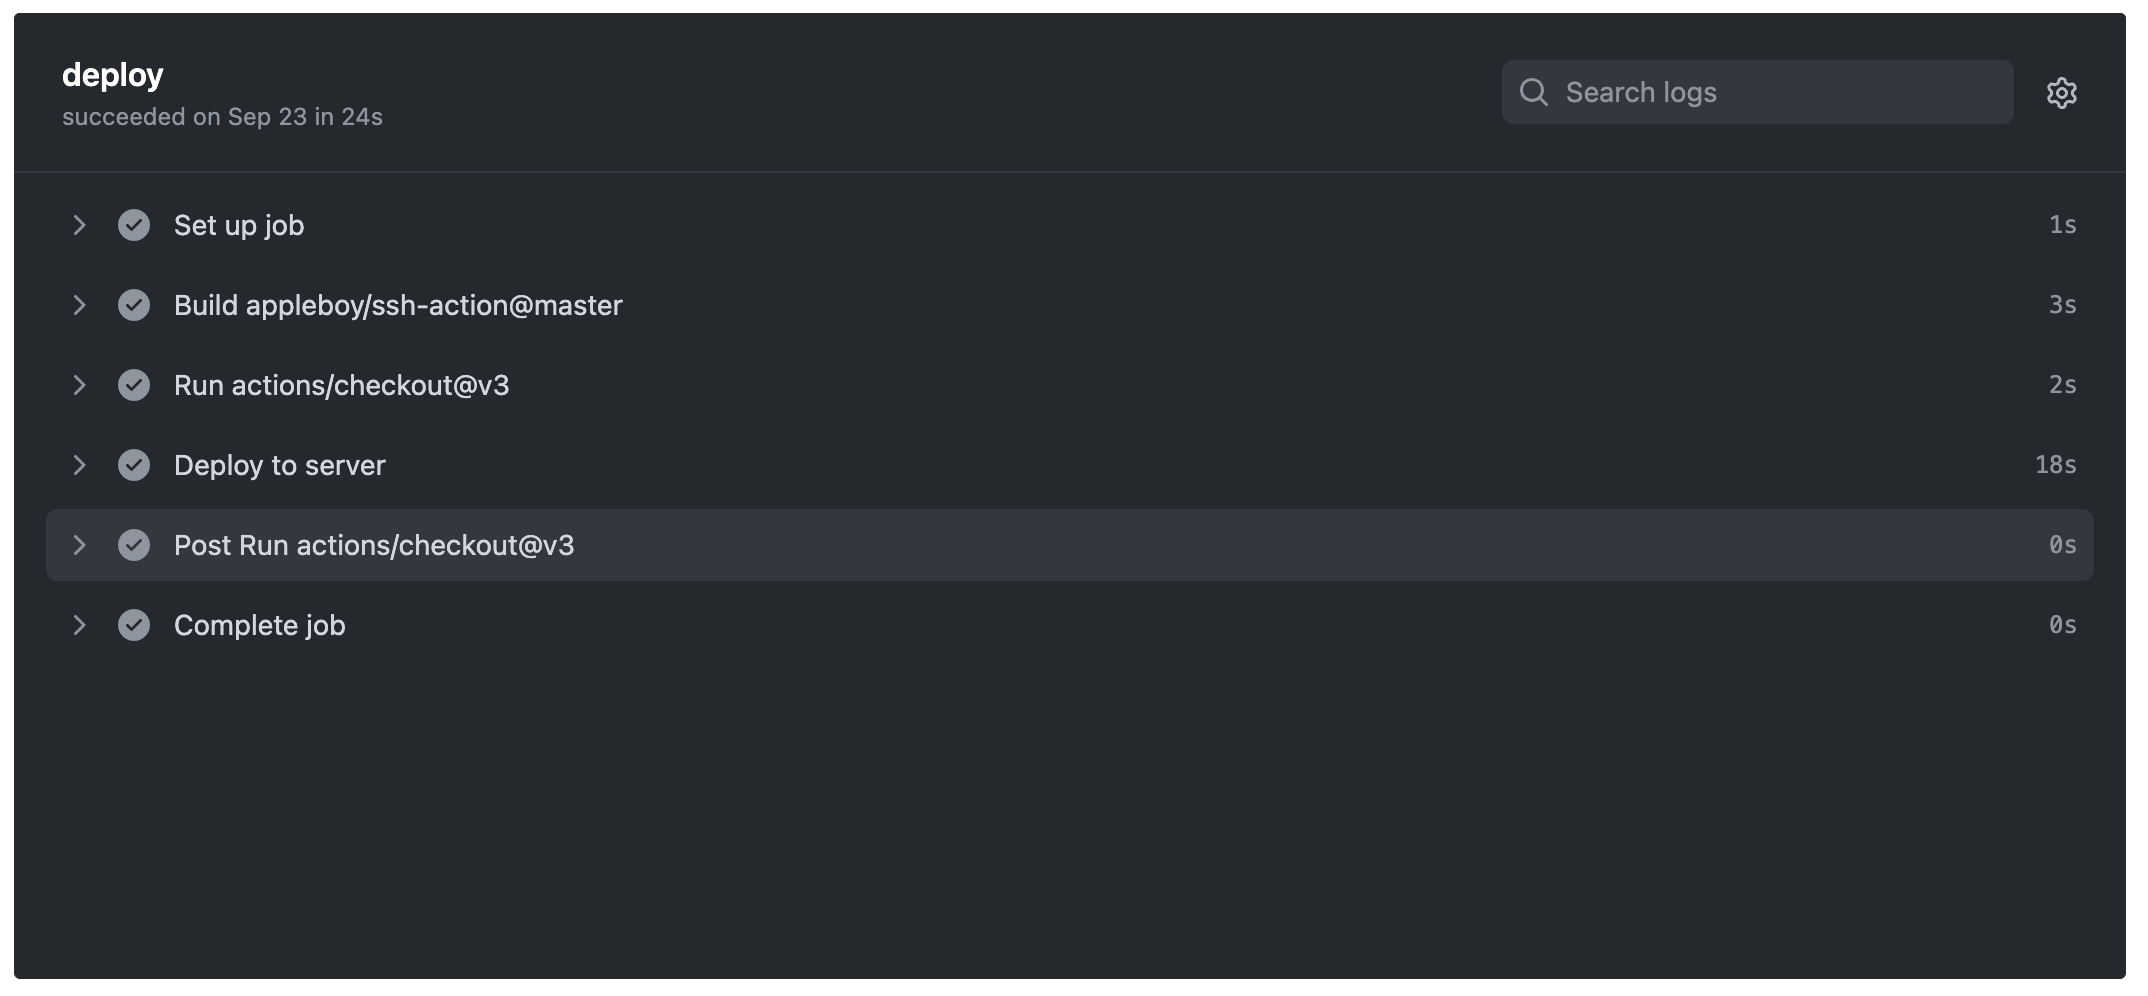
If you click the center deploy text a details view will be shown like this.

After completing the job, go to your web address or IP address and browse your newly created route, you will see the output like this.

YES!! We Did It.
If there is anything that causes an error you can easily contact me from here, I will be happy to help you.
Conclusion
In conclusion, deploying a Laravel application using GitHub Actions and a cloud server is a powerful and efficient way to streamline the deployment process.
By harnessing the automation capabilities of GitHub Actions, you can ensure smooth and consistent deployments, reducing the chances of errors and improving development workflows.
Cloud servers offer scalability and flexibility, enabling your application to grow and adapt as needed. This approach not only simplifies deployment but also enhances the overall development experience, allowing you to focus more on building and improving your Laravel application. With the right setup and a clear deployment pipeline, your Laravel project can be more agile, reliable, and ready to meet the demands of your users.


